How to Setup Ubuntu Server in Virtual Box
For this, we'll be needing an Ubuntu ISO file. I opted for 64-bit PC (AMD64) server install image which can be downloaded here.
The main reason I'm creating the VM is to install and test DefectDojo in a Virtual Machine.
Open Virtual Box and click on
New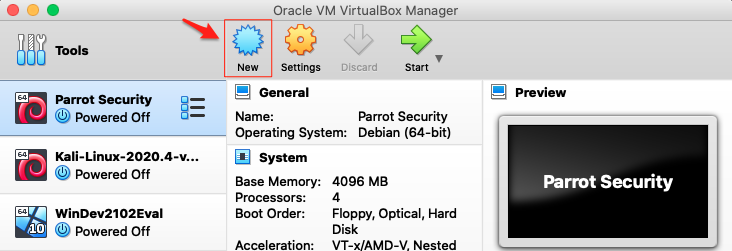
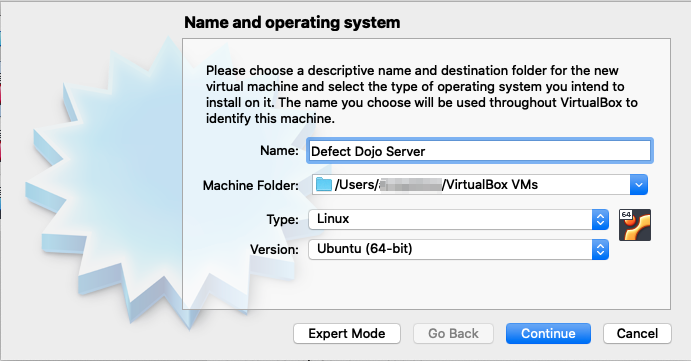
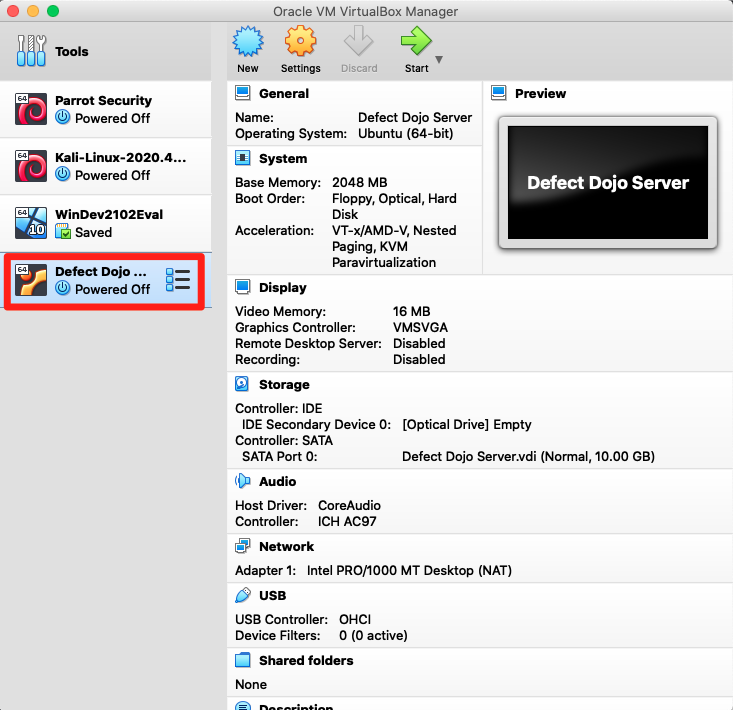
Set the name of the VM
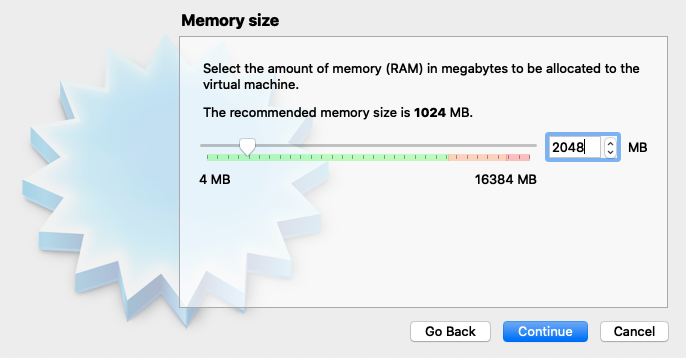
For RAM, I opted for 2GB.
Select
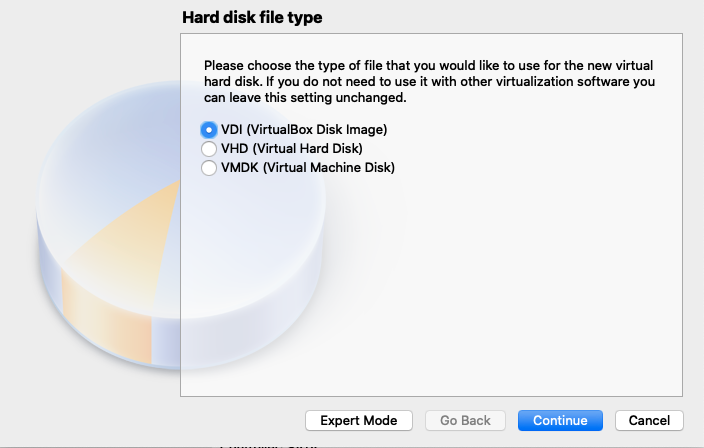
Create a virtual hard disk nowfor the Ubuntu Server Image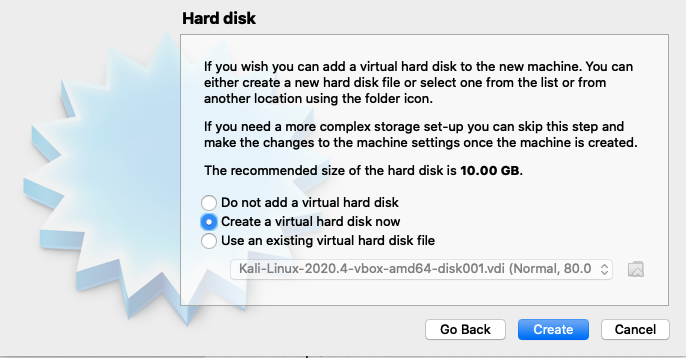
Since, I only plan to use the image in Virtual Box, I selected VDI which is the default format used by Oracle.
- Oracle: VDI
- Microsoft: VHD
- VMWare: VMDK
Select the
Dynamically allocatedoption to avoid occupying unused virtual disk sectors.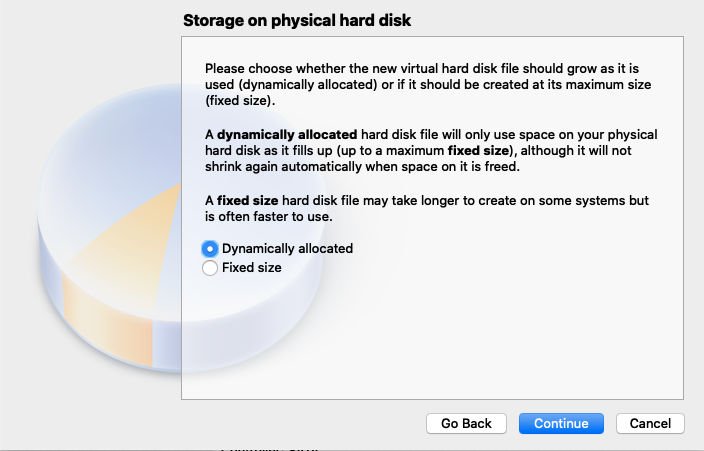
I set the maximum virtual hard disk size to
10.00 GB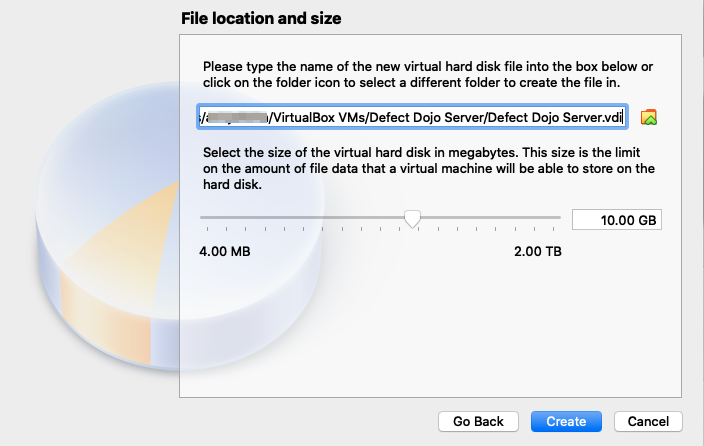
Start the VM.
Select the server install image file (ubuntu-16.04.7-server-amd64.iso) and click
Start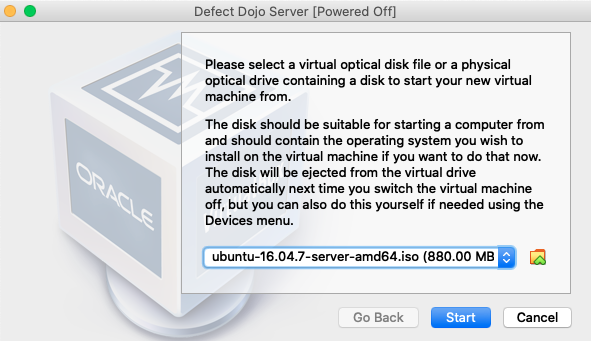
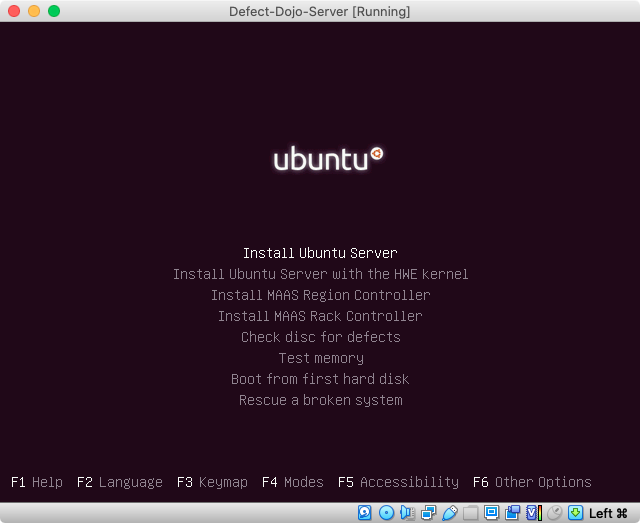
Install Ubuntu Server
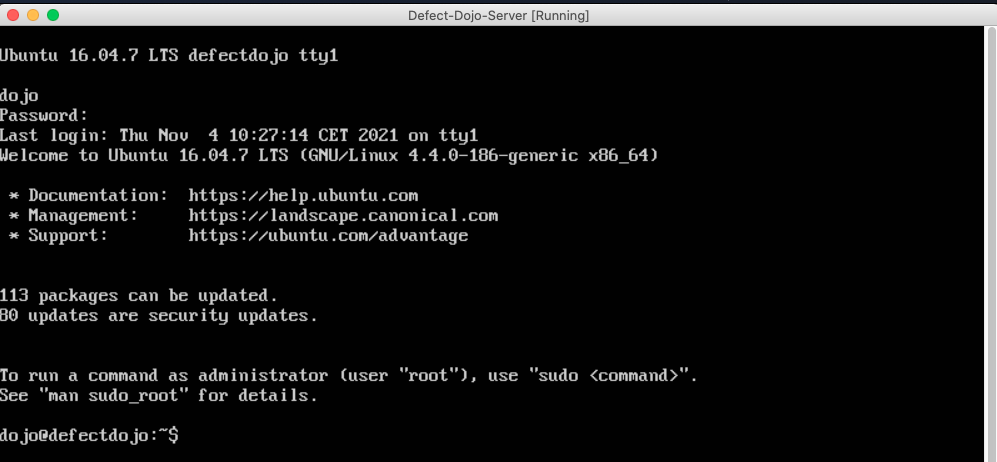
Login 🚀
To scroll using the keyboard in Mac:
- ⏫ Scroll Up:
shift + fn + up arrow - ⏬ Scroll Down:
shift + fn + down arrow